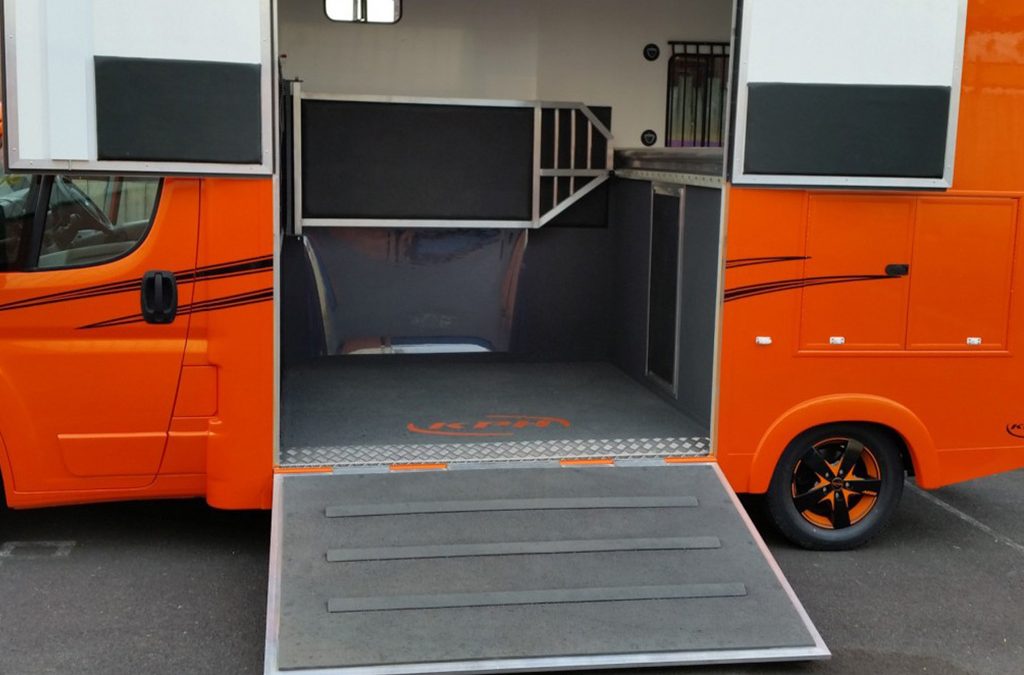
Drivers warned to check horsebox floors
Following recent posts on Facebook and horse forums concerning the dangers of failing horse area floors, I thought it may be helpful to offer some insight into what might be the problem. I have also listed possible solutions to the problems faced.
Most of the problems below come about either by cutting corners to save money at the build stage or just plain inexperience. Conscientious manufacturers will address all the details stated below as part of the build process. Many of the horsebox floor failures we have seen are related to poorly converted horsebox bodies. These are horseboxes that are manufactured from converted delivery wagons (commonly called horsebox conversions) and they can make very cost effective horse transport, when converted correctly! Manufacturing a horsebox safely and to last costs a considerable amount of money and some very large cash savings can be had from cutting corners. Unfortunately much of what we see falls into the savings category.
Floor supports (bearers)
Because converted delivery bodies have bearer spaces designed for wide forklift pallets, the gaps between bearers can be anywhere from 18 inches to 24 inches, with even bigger spacing over the rear wheels. Bearer spacing is paramount for any horsebox and allowance must be made for the large amount of weight a horse can place on the relatively small surface area of a hoof when standing between bearers.
Floor
Most horsebox conversions will have the original delivery body flooring made from either 18mm WISA plywood or 25mm Keruing hardwood from Malaysia, both are excellent and long lasting products. However, with the large bearer spacing they are not suitable on their own for horsebox floors.
Horse floor damage and prevention
As we have seen in posts over the last few weeks a horsebox floor failing is traumatic to say the least. Even if your horse is lucky enough to walk away relatively uninjured it may have some psychological problems loading and being moved in a horsebox for a very long time. To be proactive I would advise checking your horsebox floor often. It may take less than 30 minutes to remove rubber matting and check the condition of the floor from both above and underneath the horsebox. Keep an eye out for rotten wood or rotted aluminium planking and especially, splintered plywood between the bearers.
The safe way to convert or repair a body
It would be very expensive to add extra bearers to a horsebox conversion. It would also be expensive to remove the existing horsebox floor and replace it with aluminium planking. Although we have done this on a few horseboxes, a more cost effective route is to make the floor material stronger. This can be done relatively cheaply by removing the rubber mats, repairing any damaged wood flooring, then adding 3mm or 4mm aluminium tread plate sheets onto the existing floor. The rubber mats will then fit back in the original positions. This applies to any age of horsebox and would make the flooring safe for horses and at the same time make the floor waterproof. Drain tubes could also be added as most of the damage can be caused by chemicals, water and urine.
It is quite common for horsebox conversions to have double wood floors. This means they have a new layer of wood placed over the original floor to add more strength between bearers. In the main the ones we see are just cheap plywood or even Sterling board and only last a very limited time. This is only an option I would advise if the plywood you are fitting is Marine ply. Even then it will need a waterproof surface treatment before the rubber mats are fitted. Again I would advise everyone to keep an eye on payload as horsebox conversions are notoriously heavy.
This is all very general but I hope it explains a few of the issues.

